To put belt buckle on belt effectively, start by identifying the type of buckle and belt you have. Whether your buckle attaches via snaps, screws, or a slide-through mechanism will dictate your approach. The process involves removing any existing buckle, positioning the new buckle, and securing it in place. This ensures that your belt not only fits well but also complements your outfit, enhancing both functionality and style.
How To Put a Belt Buckle on A Belt
When attempting to put on the belt buckle, it's crucial to first grasp the specific attachment mechanism your belt and buckle use. Many belts are crafted to allow straightforward buckle swaps, promoting ease in personalizing style and preferences. Begin by detaching any existing buckle; this could involve unsnapping or unscrewing it from the belt. Next, take your new buckle and align it with the belt's end. If your buckle is designed to snap on, press it firmly onto the belt's snaps until it securely locks into place. For buckles that require screwing in, position the buckle over the belt's end, align the holes on the belt with those on the buckle, then fasten the screws tightly to secure it. This process ensures a perfect fit, aligning the buckle with the belt's pre-made holes or slots, and ultimately enhances the belt's functionality and aesthetic appeal.
Gather Materials
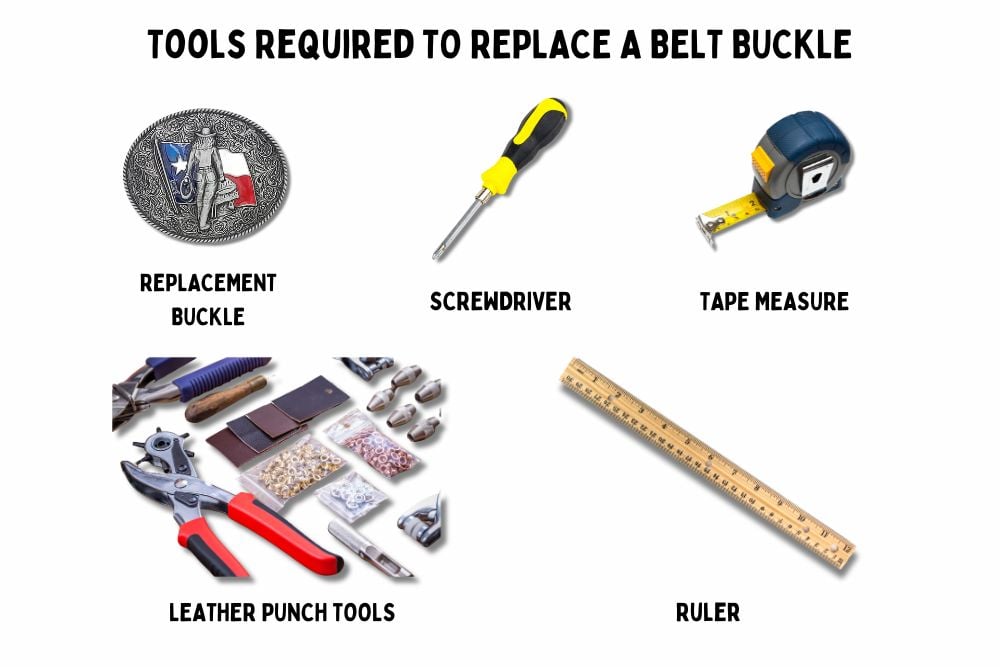
To successfully replace a belt buckle, assemble the following essential materials, ensuring a flawless process and outcome:
- Replacement belt buckle: Select a buckle that not only suits your style but also fits the width of your belt precisely, to guarantee compatibility and a cohesive look.
- Screwdriver: A critical tool for belts that utilize screws for buckle attachment, allowing for the easy removal of the existing buckle and secure installation of the new one.
- Leather punch tool (optional): If your belt requires additional holes for a custom fit or adjustments, this tool is indispensable for creating clean, precise holes.
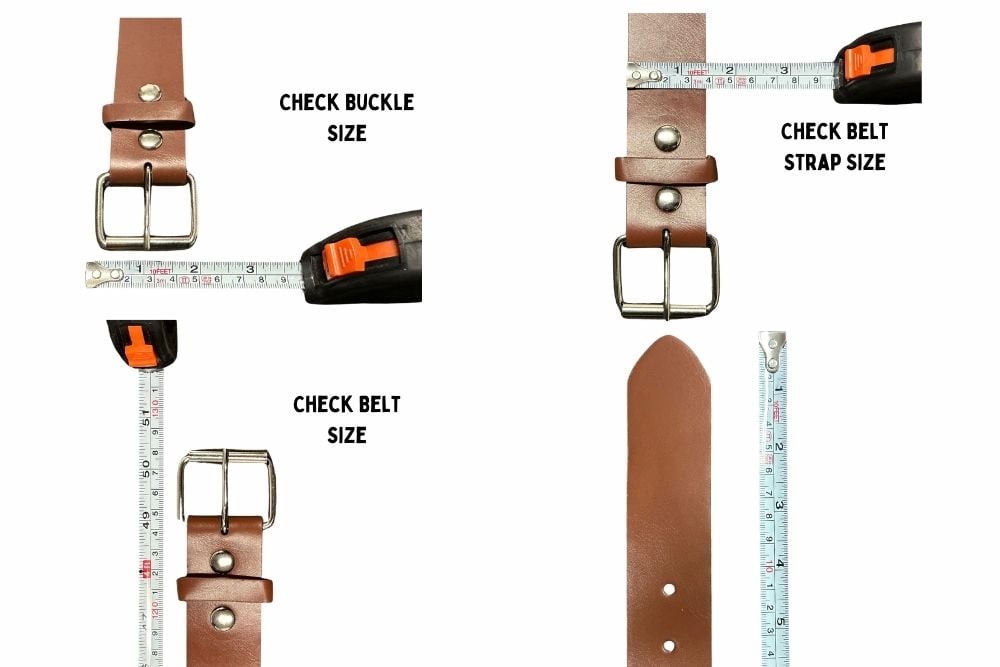
- Ruler or tape measure: Vital for accurate measurement, ensuring the belt and buckle align correctly for optimal fit and appearance.
These tools and components are pivotal in facilitating the smooth removal of the old buckle and ensuring the new buckle is attached perfectly, achieving a professional fit and finish.
Remove the Old Buckle
Changing a belt buckle is a straightforward process that varies depending on the type of buckle your belt uses. Here’s a detailed approach:
- Snap-on buckles: These buckles are equipped with fasteners that can be easily unsnapped. To remove the buckle, gently pull apart the snaps or press the release mechanism. This type is designed for quick and effortless changes, making it convenient for those who like to switch styles frequently.
- Screw-on buckles: For belts with screw-on buckles, you'll need a screwdriver that matches the screws' head (usually flat-head or Phillips). Insert the screwdriver into the screw, turn it counterclockwise to loosen, and then remove the screws completely. This method secures the buckle more firmly to the belt, requiring a bit more effort to change but offering increased stability.
Each method ensures that the belt is ready for a new buckle installation, allowing for customization and personalization of your accessory. Remember, handling the belt and buckle carefully during this process is key to preventing damage to the leather or the fastening mechanism.
Attach the New Buckle
To attach buckle to belt effectively, ensuring both functionality and a polished appearance, proceed with the following detailed instructions:
- Prepare the Belt: Start by aligning the new buckle with the end of the belt. Ensure that the belt's end is clean and free from any old fastening remnants for a smooth attachment process.
- For Snap-on Buckles: Position the buckle over the belt's snap mechanisms, ensuring alignment for a perfect fit. Gently press the buckle onto the snaps, applying even pressure until you hear or feel a definitive click. This audible or tactile confirmation signifies that the buckle is securely attached to the belt, ready for wear.
- For Screw-on Buckles: Carefully place the buckle in its desired position at the belt's end. Line up the buckle's screw holes with those on the belt. Using the appropriate screwdriver, insert and tighten the screws through both the buckle and the belt. Ensure each screw is fastened securely but avoid overtightening to prevent damage to the belt or the screw threads. This method not only secures the buckle firmly in place but also allows for adjustments or replacements in the future.
Secure the Buckle
When replacing a belt buckle, it’s imperative to guarantee that it's securely affixed to the belt for both safety and durability. This step is crucial regardless of the attachment method used. Here are more detailed guidelines to ensure the buckle is properly secured:
- Inspect Attachment Points: After attaching the buckle, carefully examine the connection points. For snap-on buckles, ensure that each snap is fully engaged and snaps back firmly without any gaps. For screw-on buckles, check that each screw is tightened to the point where there is no wiggle room but be cautious not to strip the screw by over-tightening.
- Test for Security: Gently pull on the buckle to test its security. It should feel firmly attached without any movement separate from the belt. This test helps prevent the buckle from detaching unexpectedly during use.
- Regular Maintenance Check: Over time, screws can loosen, and snaps can wear down. Make it a habit to periodically check the security of your buckle, especially before a long day or an event. Tightening screws or ensuring snaps are fully engaged can prevent any fashion mishaps.
- Use the Right Tools: Always use the correct screwdriver size for screw-on buckles to avoid damaging the screw heads. This ensures that future adjustments or replacements can be made easily.
By taking these steps to secure the buckle properly, you not only extend the life of your belt but also ensure it remains a reliable accessory in your wardrobe. A securely attached buckle translates to a polished look and uninterrupted functionality, enhancing your confidence in the belt’s performance.
Test the Belt
After successfully attaching the new buckle, conducting a thorough test of the belt is essential to ensure optimal fit and comfort:
- Secure Around Waist: Fasten the belt around your waist to gauge its initial fit and comfort level.
- Assess Adjustments: If the belt feels too loose or tight, consider adjusting the position of the buckle for a better fit.
- Add Holes if Necessary: Utilize a leather punch tool to add new holes, ensuring they're evenly spaced and align with the belt's existing hole pattern.
- Re-Test for Comfort: After adjusting, fasten the belt again to confirm the fit is comfortable and the style meets your expectations.
Final Adjustments
The final adjustments may include shortening the belt or adding new holes for a perfect fit. Use a leather punch tool for additional holes, ensuring they are evenly spaced and match the belt's existing pattern. These adjustments are crucial for ensuring the belt serves its functional and aesthetic purpose effectively.
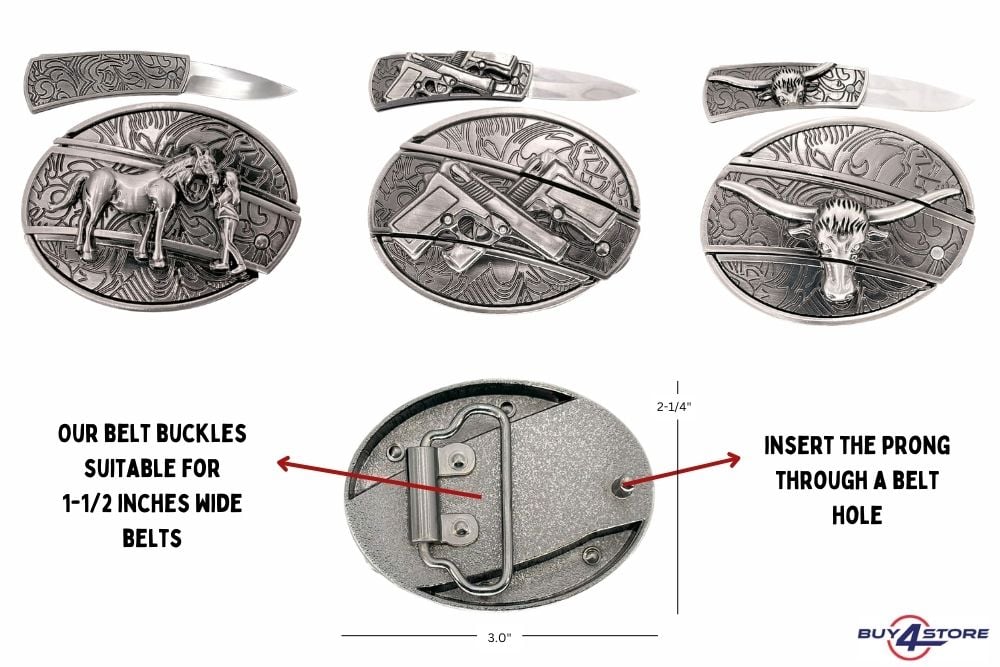
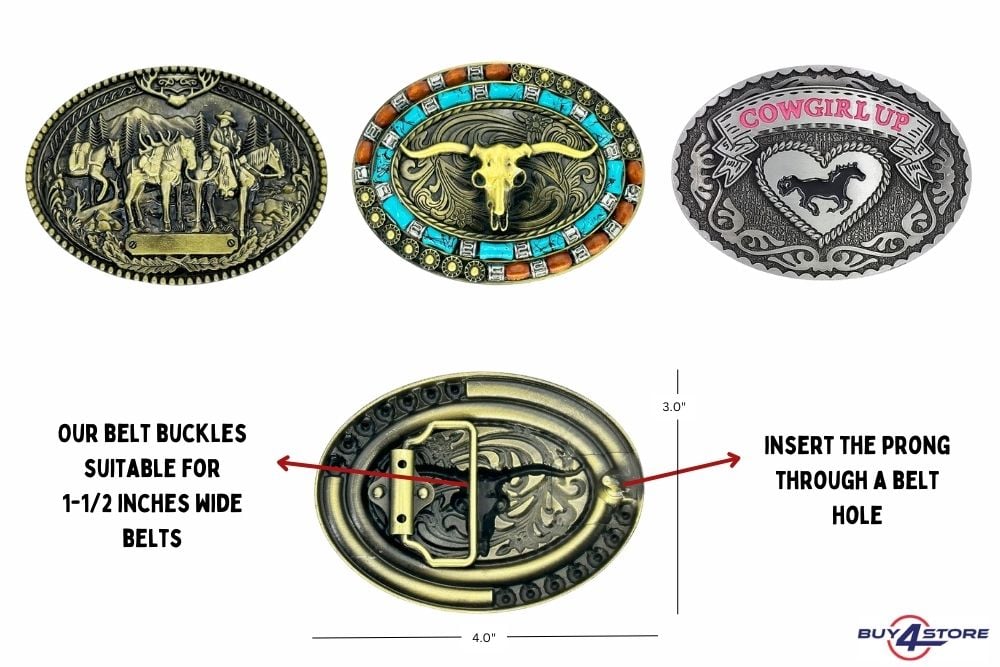
How To Put on a Belt Buckle Without Snaps
Belts that allow for the changing of buckles without snap-on mechanisms typically utilize screw-on options or a slide-through approach for secure attachment. Here’s a comprehensive guide on how to manage this process effectively:
- Identify Buckle Type: Determine whether your belt uses a screw-on mechanism or a slide-through approach. This distinction will guide the subsequent steps.
- Prepare the Belt: If necessary, trim the belt’s end to fit the buckle's width for a slide-through buckle. For a screw-on buckle, ensure the belt's end is clean and smooth.
- Slide Through or Position: For slide-through buckles, thread the belt’s end through the buckle’s slot. If the design requires, fold the belt back on itself. For screw-on buckles, place the buckle in the desired position on the belt.
- Secure the Attachment:
- For Slide-Through Buckles: Some models might have a pin or a bar to thread the belt through, then a clamp or a set of screws to secure the folded part of the belt.
- For Screw-On Buckles: Align the holes on the belt with those on the buckle. Insert and tighten the screws using a screwdriver, ensuring they are snug but not overly tightened to prevent damage.
- Final Check: Ensure the buckle is firmly attached by gently pulling on it to test its security. This step is crucial to confirm the buckle will stay in place during wear.
- Adjust for Comfort: After attaching, wear the belt to ensure it fits comfortably. Adjust as necessary by moving the buckle or modifying the belt length.
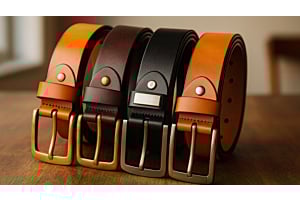
How To Attach a Buckle to a Leather Belt
Attaching belt buckle to a leather belt requires a bit more care compared to other materials due to leather's durability and rigidity. Use a screwdriver for screw-on buckles, ensuring not to damage the leather. For slide-through buckles, gently thread the belt through to avoid creases or wear. The right approach ensures the leather belt maintains its integrity and appearance.
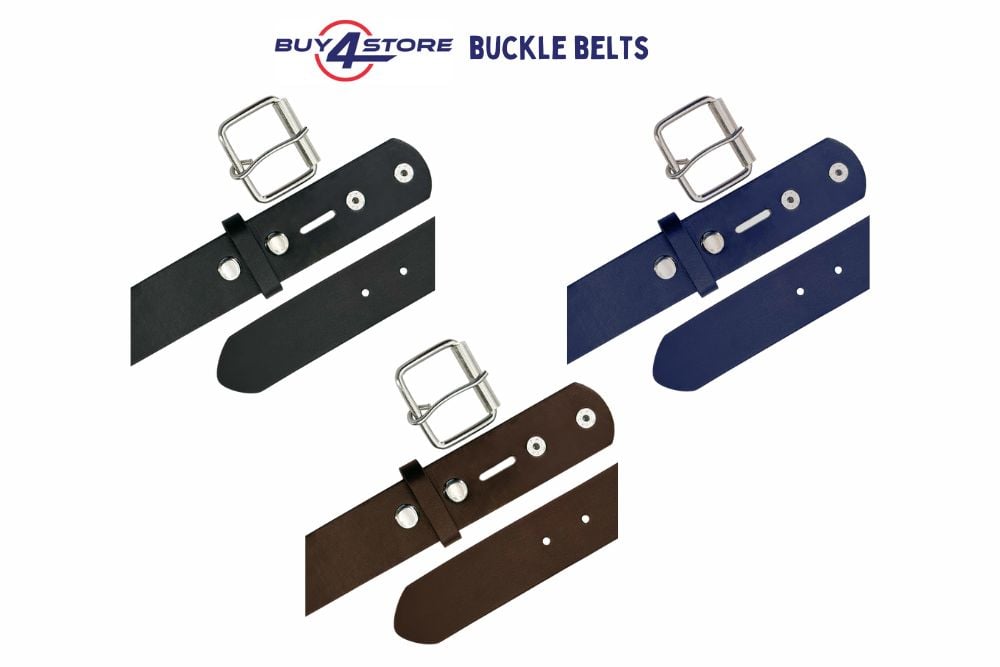
Attaching a belt buckle is a simple yet impactful way to personalize your wardrobe and ensure your belts fit perfectly. Whether you're working with snap-on, screw-on, or slide-through buckles, the right tools and techniques make the process straightforward. We encourage you to explore our versatile range of belts that you can change the buckles for and visit our wholesale belts and belt buckles section to find the perfect accessory to elevate your style. Your next favorite belt and buckle combo awaits!


0 Comment(s)